Create an address layer

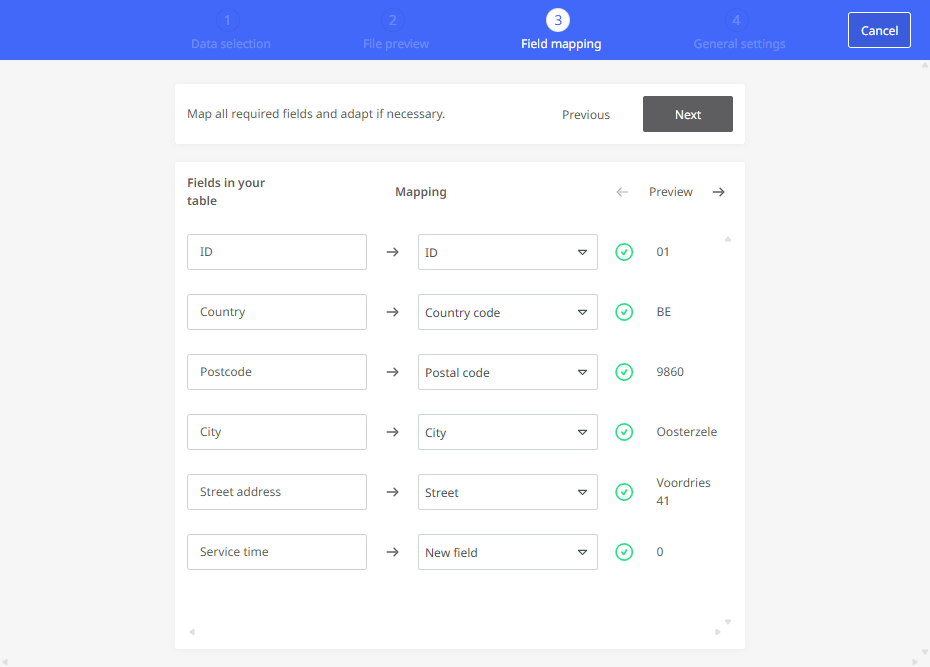
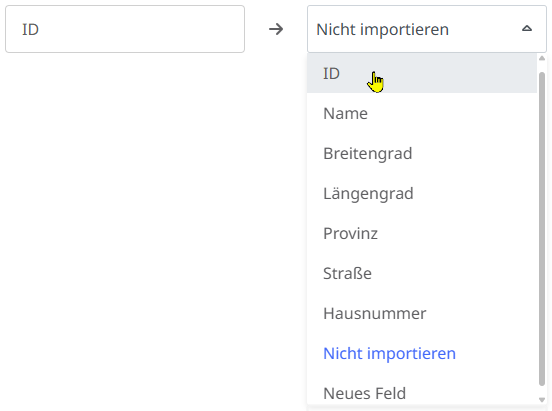
Create a new address layer by importing an address file in CSV format. This address file must be in a valid CSV format. During the import, the defined columns are assigned to the existing data fields in PTV Map&Guide. The addresses contained in the respective lines of the CSV file are then automatically geocoded and saved as far as possible.

Limitations : Please note that the following limitations apply to the amount of managed data for performance reasons:

  • Currently, only one address layer can be created and managed in the Data Manager. Even if you have several licenses in use and several users are working with the Data Manager, this number does not increase.

  • Each CSV file that you upload may be a maximum of 10 MB in size.

To create your first address layer based on an address file in CSV format, proceed as follows:

  1. Open the data manager via the “Data management” entry either from the application menu or from the home area.

  2. Click on the <+ Add address layer> button to start the import wizard.

  1. In the first step, select the CSV file using drag & drop or via the file explorer (click on the drop zone). As soon as you have confirmed the selection of the file, you will automatically be taken to the next step of the wizard.

  1. In the second step of the wizard, the structure of the CSV file is examined

    • Specify whether the file contains a line with column headers and whether quotation marks are used to enclose character strings.

    • Also specify the column separator and the character encoding.

    • The lines contained in the CSV file are displayed as a preview in the lower area of the window.

    Once you have made the appropriate settings for your file, confirm with <Next>.

  1. In the third step of the wizard, you assign the fields in the CSV file to the data fields in PTV Map&Guide. Depending on the nature of the data in the CSV file, the wizard recognizes the purpose of the fields and suggests the appropriate field in .

    • You can use the drop-down function for the individual fields:

      • to override the proposed assignment and select another field to which the field from the table is to be assigned;

      • to manually assign fields that were not automatically recognized;

      • to specify that individual fields are to be ignored (i.e. not assigned) during import.

    • If a data field is not recognized as an address field but should still be imported, select the "New field" entry.

    • A green or blue symbol behind a line indicates whether a field has been assigned.

    • Please note: A certain amount of information must be provided for the geocoding that takes place during the import. It is therefore necessary that either fields for zip code or city or coordinates are assigned. The more unique address data is available, the better the geocoding. If not enough fields are assigned for address recognition, a corresponding warning is displayed and the wizard cannot be continued. A unique field is also required as an ID for each address data record.
    • In the "Preview" column, you can use the arrow buttons to view a preview of the individual address data records based on the field assignments made.

    Once you have made the appropriate settings for the field assignment, confirm with <Next>.

  1. In the last step of the wizard, you can make general settings for the address layerto be created. These are

    • Name of address layer: Give the address layer a unique, descriptive name

    • Visibility: These settings affect the display of addresses on the map:

    • Symbol: The individual addresses are displayed on the map with the symbol selected here.

    • Color: Use the color selector to determine the color in which the symbol for an address is displayed.

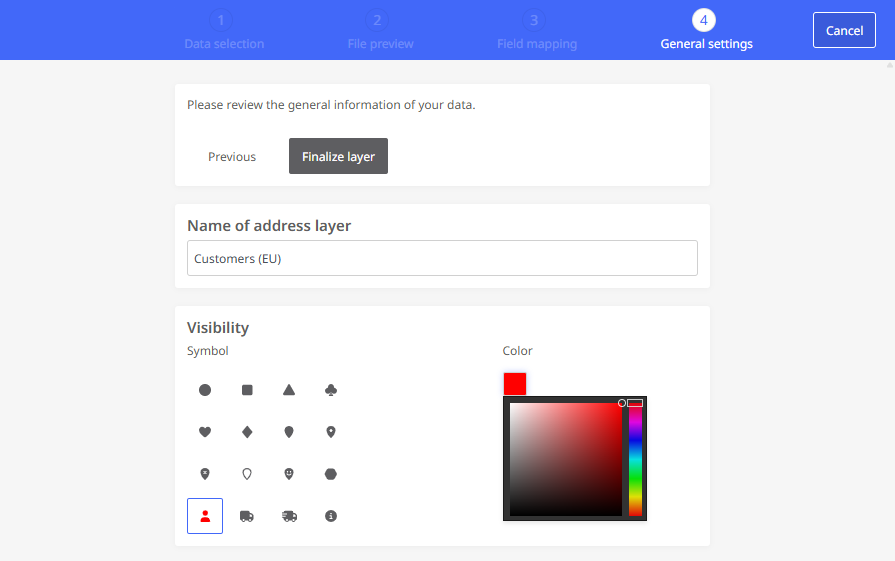
    Click <Finalize layer> to create the address layer.

  1. A summary of the geocoding is now displayed. Here you can see which addresses have been geocoded

    • by coordinates (instead of address data),

    • with good, medium or poor quality or

    • not at all

    For addresses that have been poorly geocoded or not geocoded at all, you should check the source data in the CSV file.

    Click <Close> to confirm the creation of the address layer.

Your new data layer is now available both in the data manager (e.g. for post-processing) and in the map view.

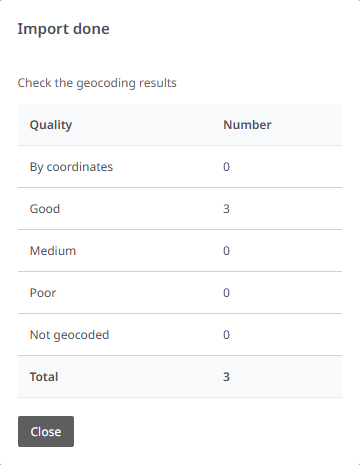
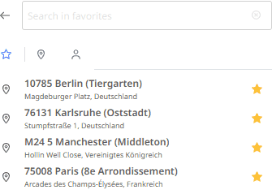
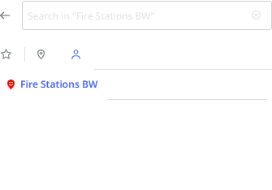
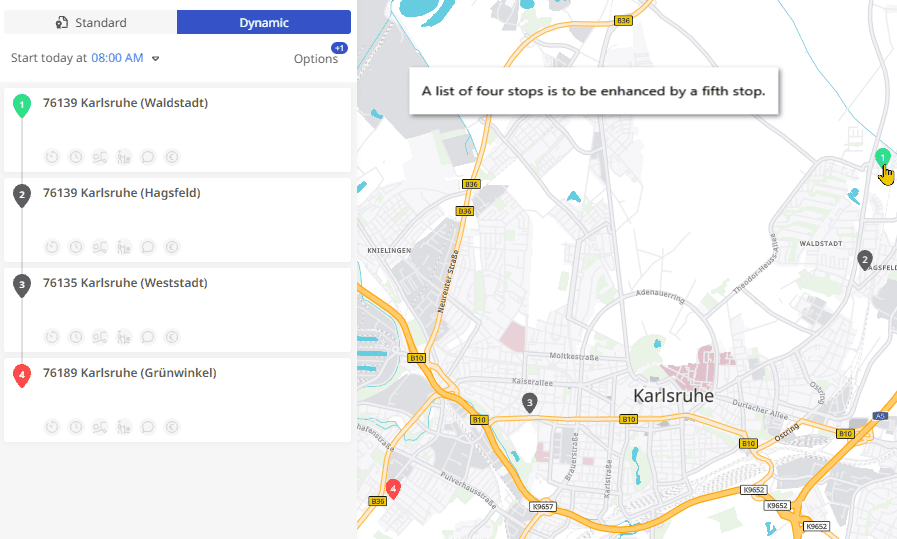
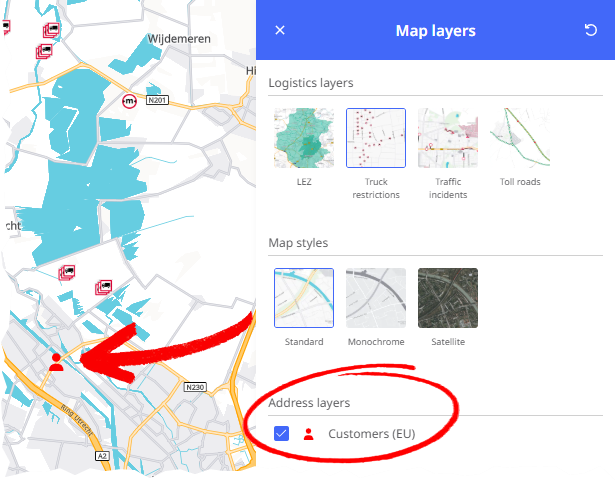
The address layer is now also available in the route planning in the "Map layers" window under "Address layers". If you activate this, the addresses of the layer with the configured symbol are displayed on the map. By clicking on the symbol of an address, you can add it as a stop to your route.