Creating a route

The route planning module allows you to create a route with any number of stops. The map view is displayed for this purpose.
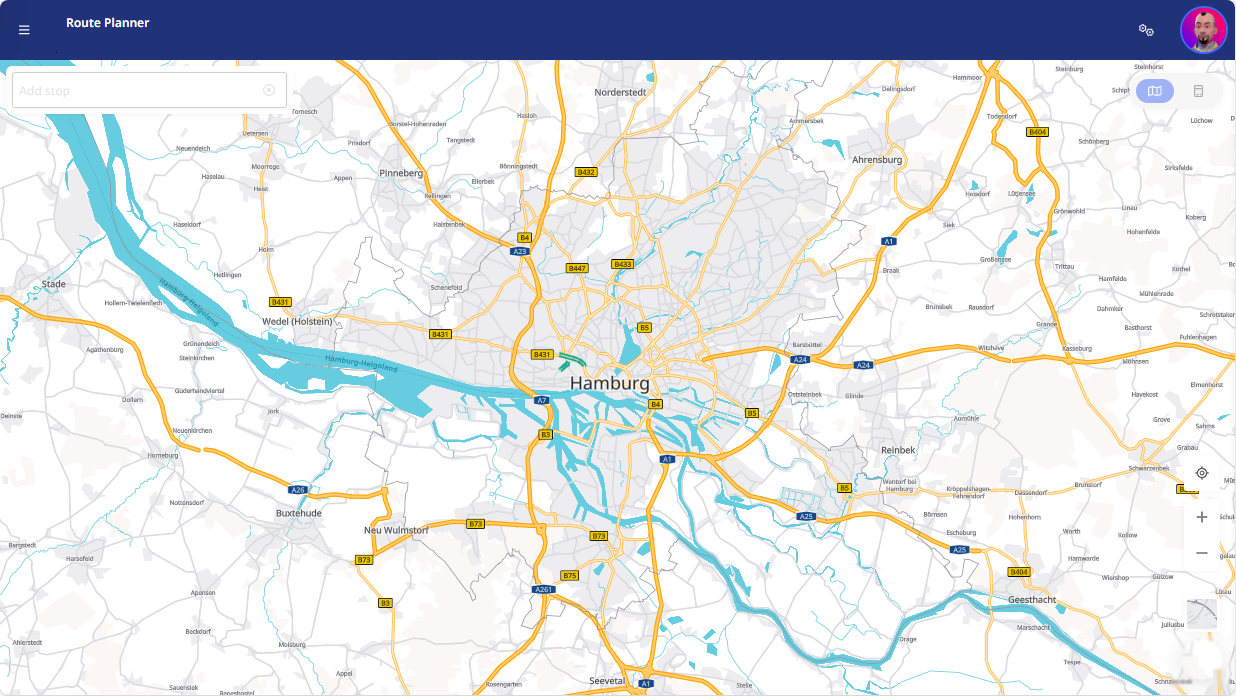
To create a route, proceed as follows:

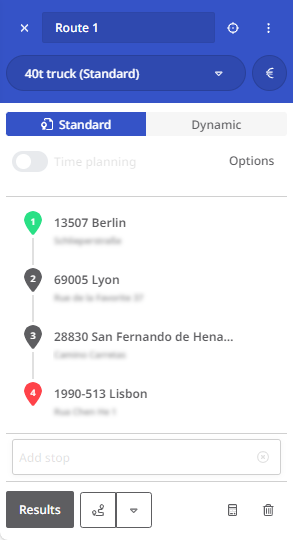
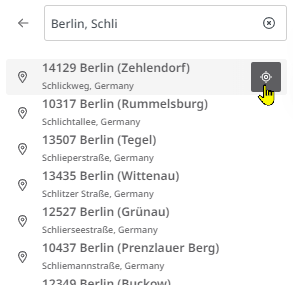
  1. You can use the search bar on the left-hand side to search for specific locations to add them as a stop on your route.

  1. As soon as you enter search text in the field, possible search results are displayed. Your search will be narrowed down step by step until you reach the desired result. If you navigate in the results list using the up or down key on your keyboard, the map view zooms in on the location of the selected hit to help you. You can also use the mouse to click on the crosshair symbol to the right of each hit to zoom in on the location of this hit.

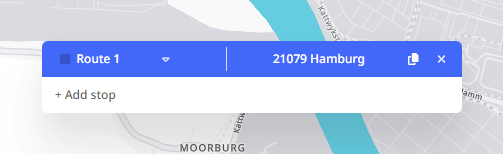
    Alternatively, you can also add a stop to your route by clicking on the desired location on the map.

  1. The first stop is the starting point of your route - the map zoom focuses on this first stop. Once you have added a stop, you can make various settings for this stop to calculate a route (see "Editing a stop").

  2. As soon as you have added more than one stop, the zoom in the map view adjusts so that all stops on the route are displayed. If you move the mouse over a stop, it will be highlighted in colour. Here you can click on the crosshair symbol to the right of the stop to zoom in on this stop. Before you calculate the route, you can define the desired vehicle profile. To do this, use the drop-down field in the list header (further details can be found below under "Creating a route"). If you want to use a different cost profile for this vehicle than the one assigned to the vehicle by default, you can select a different cost profile using the € symbol.

    Now you need to specify whether the calculation of the route:

    • on standardized route planning values (Standard)

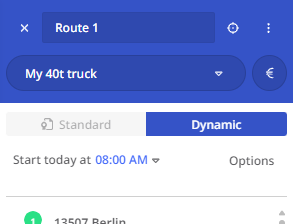
    • or on additional parameters such as time slots, driving times and rest periods, etc. (Dynamic).

  3. If you have selected dynamic mode, you can make settings for the stops that are to be included in the calculation. Detailed information on editing stops for dynamic calculation can be found in the section Editing a stop.

  4. You can now calculate the route by clicking on <Results>.

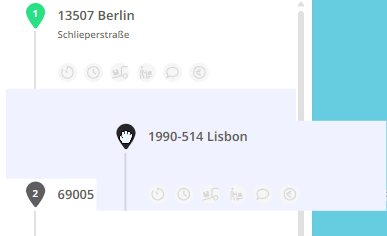
Note: You can change the order of the stops by moving a stop within the list with the mouse using drag&drop. To do this, grab the number of the stop to be moved with the mouse and drag the stop to the desired position within the route.

If the route had already been calculated in its previous order, it is now necessary to click the button Results> again, as the route result is automatically reset when the stops are changed.

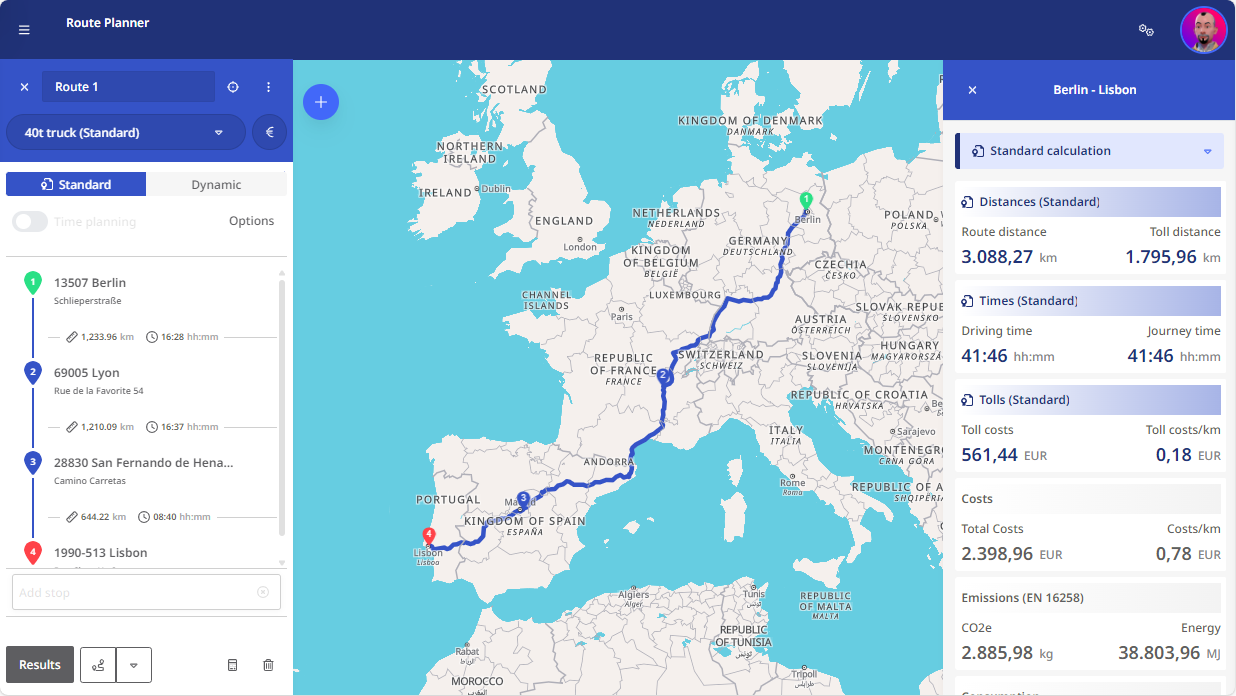
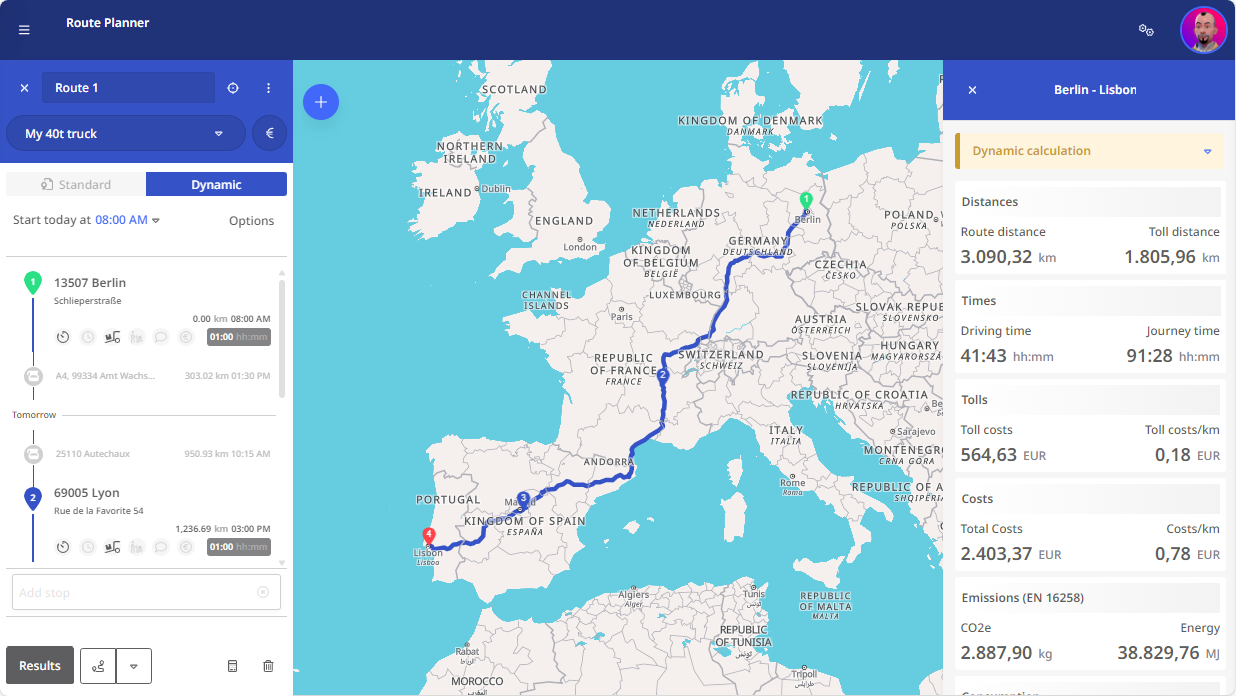
  1. The calculated route is now displayed on the map. The rough route is listed on the left-hand side of the window. Information on distances, times, costs, tolls, emissions and consumption is displayed in the right-hand pane. This information is based on:

    • the settings in your cost and vehicle profiles (standard and dynamic),

    • the settings you have made for the individual stops (Dynamic).
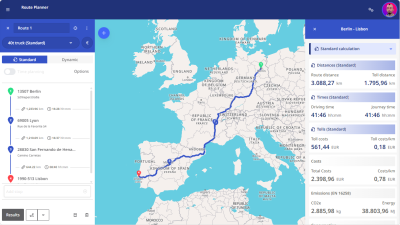
Select a vehicle profile

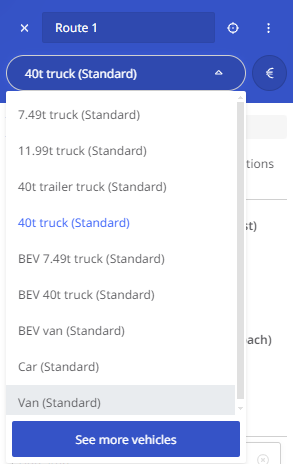
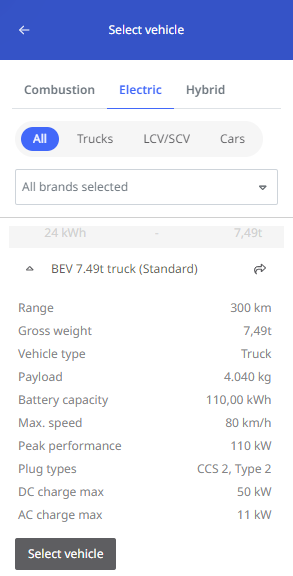
To select a suitable vehicle for your planned route, click on the drop-down button in the route creation header. A shortened list of available vehicles is displayed. You can select the desired vehicle profile here. If the desired vehicle is not included in the shortened list, you can access a list of all vehicles via the <See more vehicles> button. This list is organized by vehicle category. For electric vehicles, additional information is available for each vehicle. You can select your desired vehicle from this list by clicking on the respective arrow button.

Optimizing the sequence of a route

To plan a route as efficiently as possible and reduce unnecessary distances (and the associated costs), you can use the corresponding function in the route planning via the button <Optimize sequence> below the stop list. The route planner will then try to reorganize the stops on your route so that the entire route can be kept as short as possible. The start and end points are fixed and are not included in the optimization.
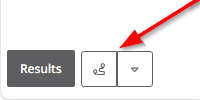
Next to the button <Optimize sequence> you will find a drop-down button which you can use to select the route section for which the optimization is to be carried out based on the affected stops.

Note: The "Optimize sequence" function is only available for the "Standard" calculation mode. In "Dynamic" calculation mode, the button is displayed but cannot be used – a corresponding tool tip is displayed.
Example:

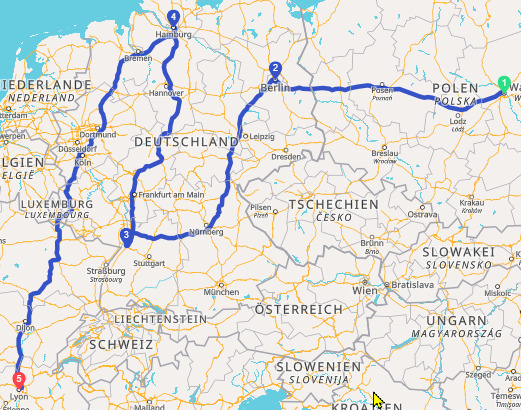
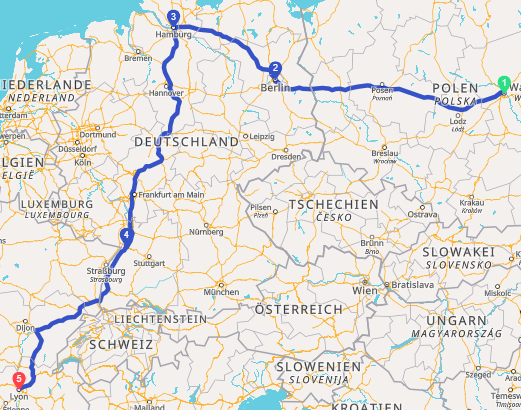
The route shown here includes stops in Berlin, Karlsruhe and Hamburg on the way from Warsaw to Lyon.

By optimizing the sequence for all intermediate stops (stops 2-4), the stops in Hamburg and Karlsruhe are automatically swapped, resulting in a saving of around 1000 kilometers on the journey.

However, if only stops 2 and 3 or 3 and 4 are selected for the optimization, this will not lead to any improvement.